Current Challenge

Showing posts with label 3D project. Show all posts

Friday, October 21, 2016

Fall Ultrasound Pregnancy Tear Bear Sonogram Frame


Hello, Doodlebugs. DT Twila here today, I'm sharing my latest creation which is part of the New Kadoodle Bug Designs Facebook Challenge going on here: Kadoodle Bug Designs Facebook Challenge.

The theme is Halloween or Anything Happy.

I created this Sonogram box frame using my Cricut Explore and the following SVG cut Files from Kadoodle Bug Designs. These are must haves and have no many uses.


I designed this in Cricut Design Space, and cut out everything with my Cricut. I also made the titles using design space. I cut extra leaves, pumpkins and added a few cute stickers.

I chalked all of my piece edges to add extra dimension and used black and white gel pens to add more detail. This was a super fun project.

This is how I made my tear bear. I cut the pattern out in cardstock and then traced them into mulberry paper. I then hand tore the pieces in two layers and then glued them together. I flipped them upside down and fluffed the edges with a wire brush, hand chalked and pieced together like my other paper piecings. I finished then off by brushing my bear with a soft brush.

I had so much fun making this and thanks for stopping by.


Friday, September 23, 2016

Fabulous Fall Challenge

Hi KaDoodlebugs!Today is the start of a new Facebook challenge called "Fabulous Fall."  You can create  anything you like as long as it is fall themed, so grab your favorite fall files and get creative!


For my "Fabulous Fall" project I made a 12 inch fall wreath using these adorable files.


I used an 11 1/2 inch tag board ring as the base of my wreath. I cut about thirty 3 to 4 inch leaves enlarged from the files used. This was a good way to use up all my fall colored scraps of paper. The squirrels are about 5 inches tall and each acorn is about 1 1/2 inches. I made the 7 by 3 inch title in design space. I used three, 1 inch pieces of 1/4 inch wide ribbon to make a hangar. This was a fun, easy project.


Thanks for stopping by. I can't wait to see all the great fall projects you all make!


Thursday, August 25, 2016

Lou Lou Sew Crafty


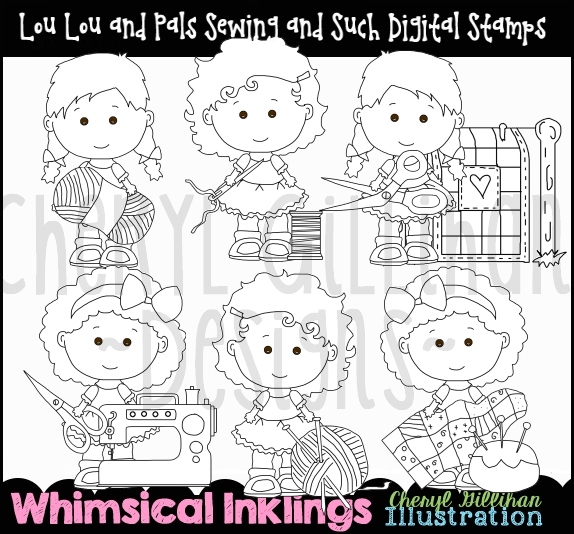
Hi Doodlebugs! Today is my day to share on the KaDoodle Bug Designs blog, so I decided to use the adorable "DS Lou Lou Sew Crafty" file. I am really loving the new digital images by Whimsical Inklings!

DS Lou Lou Sew Crafty


My sister is an avid sewer and quilter so I decided to make some projects for her. The "DS Lou Lou Sew Crafty" images were the perfect accents for my projects.


I printed my images on Spectrum Noir Cardstock by Crafters Companion. The images range in size from 3 1/4 inches to 4 1/2 inches. I used my Spectrum Noir Alcohol Markers to color all the images. 


If you would like all the details of my projects, check out my blog at: www.scrappysamdesigns.blogspot.com

Thanks for stopping by and Happy Crafting!


Monday, August 8, 2016

May the Forest Be With You

Aloha Kadoodlers!

Mellisa T. here and it's my day back on the blog. Have you had a chance to grab the super cute Safari Animals before they retire? If not, you can grab this adorable file here. The monkey can be picked up here.
This card is a little different from most for me. I wanted to try to make a tall box card with an open front window and boy, am I pleased with how this came out. Pictures just don't do this card justice.
Remember to browse through all of the soon to be retired files because once they're gone, they're gone and this is truly a file you want to add to your collection.

For more information on how I created this project, please visit me at:
Scrappy Chic Creations.  Hope you all have a scrappy day!


Thursday, July 28, 2016

Foxy Camp Lantern

Aloha Kadoodlers!

Mellisa T. here and today is my turn back on our awesome KBD blog. Thanks for stopping by and we are so happy to have you here. By the way, have you participated in our current fan challenge? The theme for the challenge is "Camping" hosted by our fabulous DT sister Sonja Bakonyi.  For more information on the challenge, click here.

To help celebrate camping, I present to you my take on the Coleman lantern.
 I couldn't resist adding those super cute foxes found here and here. Foxes just go hand in hand with camping and they were just too darn adorable for me to not use with my lantern.
I wanted to create a family of foxes so of course, I made a mama fox and her little baby playing on a stump. 

Of course, this lantern would not be complete without the super cute camp sign found here.
Of course, this lantern does light up which creates an even more fabulous project for you.

 Here is the side view of the camping sign. Of course, this challenge will not be complete until a card is made, and I highly encourage you all to show off your camping card skills by creating a card to accompany this lantern and enter it into our current challenge.

Winner of this challenge will receive a free file of their choice! So hurry and get those camp cards in cause this challenge ends soon!

For more information on this project, please visit me here.

Mahalo to all of our KBD fans!


Monday, July 4, 2016

4th of July Eagle Teepee Centerpiec


Hi! DT Shirley here!
I just love anything patriotic!


Today I am sharing a teepee design, a 4th  of July centerpiece created with the KaDoodle Bug Designs file, "CK Bald Eagle."

Cutie KaToodles - Bald Eagle

 I also used a star and title from cricut.


The eagle is 5 3/4 inches tall. The star is about 7 inches.


The title is 5 3/4 inches across. The completed centerpiece is about 11 inches tall.

Back view

Papers used are from "Americana" from COLORBOK and paper from my stash. I made my base using red tagboard for stability.

If you would like the directions on how to create a teepee card or would like my design space pattern for making a teepee card, go to my blog at: www.scrappysamdesigns.blogspot.com (To make a centerpiece the same size as mine you will use 8 inch squares for the base.)

Thanks for stopping by! ~  DT Shirley


Wednesday, May 11, 2016

Seashell Narwhal Easel Card


DT Shirley here sharing a little easel card with you today using the super cute file, "Seashell Narwhal" which can be found here:  http://kadoodlebugdesigns.com/shop/index.php?main_page=product_info&cPath=60&products_id=1127


MATERIALS

Shimmer Cardstock by Recollections in aqua and green
Glitter Cardstock by Core'dinations in red, dark pink, orange, teal, purple, yellow and tan.
Plain cardstock in gray, light blue and black.
Various sized white pearls.
Three orange gems (optional for flower accents).
Glue, tape runner, foam tape.
Inks and chalks for accents on paper piecings.


I created the base for my easel card in Design Space by welding the blue pieces of the shell together as seen here.


I created the base in this order: 

1. The smaller blue shell piece flipped horizontally.
2. The larger blue shell piece flipped horizontally.
3. The smaller blue shell piece flipped horizontally.
4. The smaller blue shell piece in original orientation.
5. Line the pieces up one over the other so they overlap slightly as seen in my screenshot, then weld them together.
6. Add fold lines at the halfway point and the mid point of the bottom section as shown.
7. Size this base piece to 8 1/2 inches tall.
8. I manipulated the pink so it would fit into the bottom section. It is 1 3/4 inches by 4 3/4 inches. This will be the piece where you will glue the sentiment.

The base was cut from aqua blue shimmer cardstock by Recollections.

I sized my paper piecings so they fit nicely on the card base. Mine is 6 1/8  inches tall by 6 1/2 inches wide. The sentiment is from Cricut and is 1 1/4 inches by 3 inches. The shell pieces, sand coral and sentiment are cut from glitter cardstock by Core'dinations. The base layer was cut from the aqua shimmer cardstock and the seaweed was cut from green shimmer cardstock by Recollections. The narwhal is cut from regular cardstock and attached with foam tape.

Side view


As a final touch I added five various sized pearls in a swirl starting about one inch above the sentiment. The large pearls are what will support the card when it is open. Three small orange gems were added to the flower.


I hope you enjoyed my project and thanks for stopping by. ~ Shirley

Friday, April 29, 2016

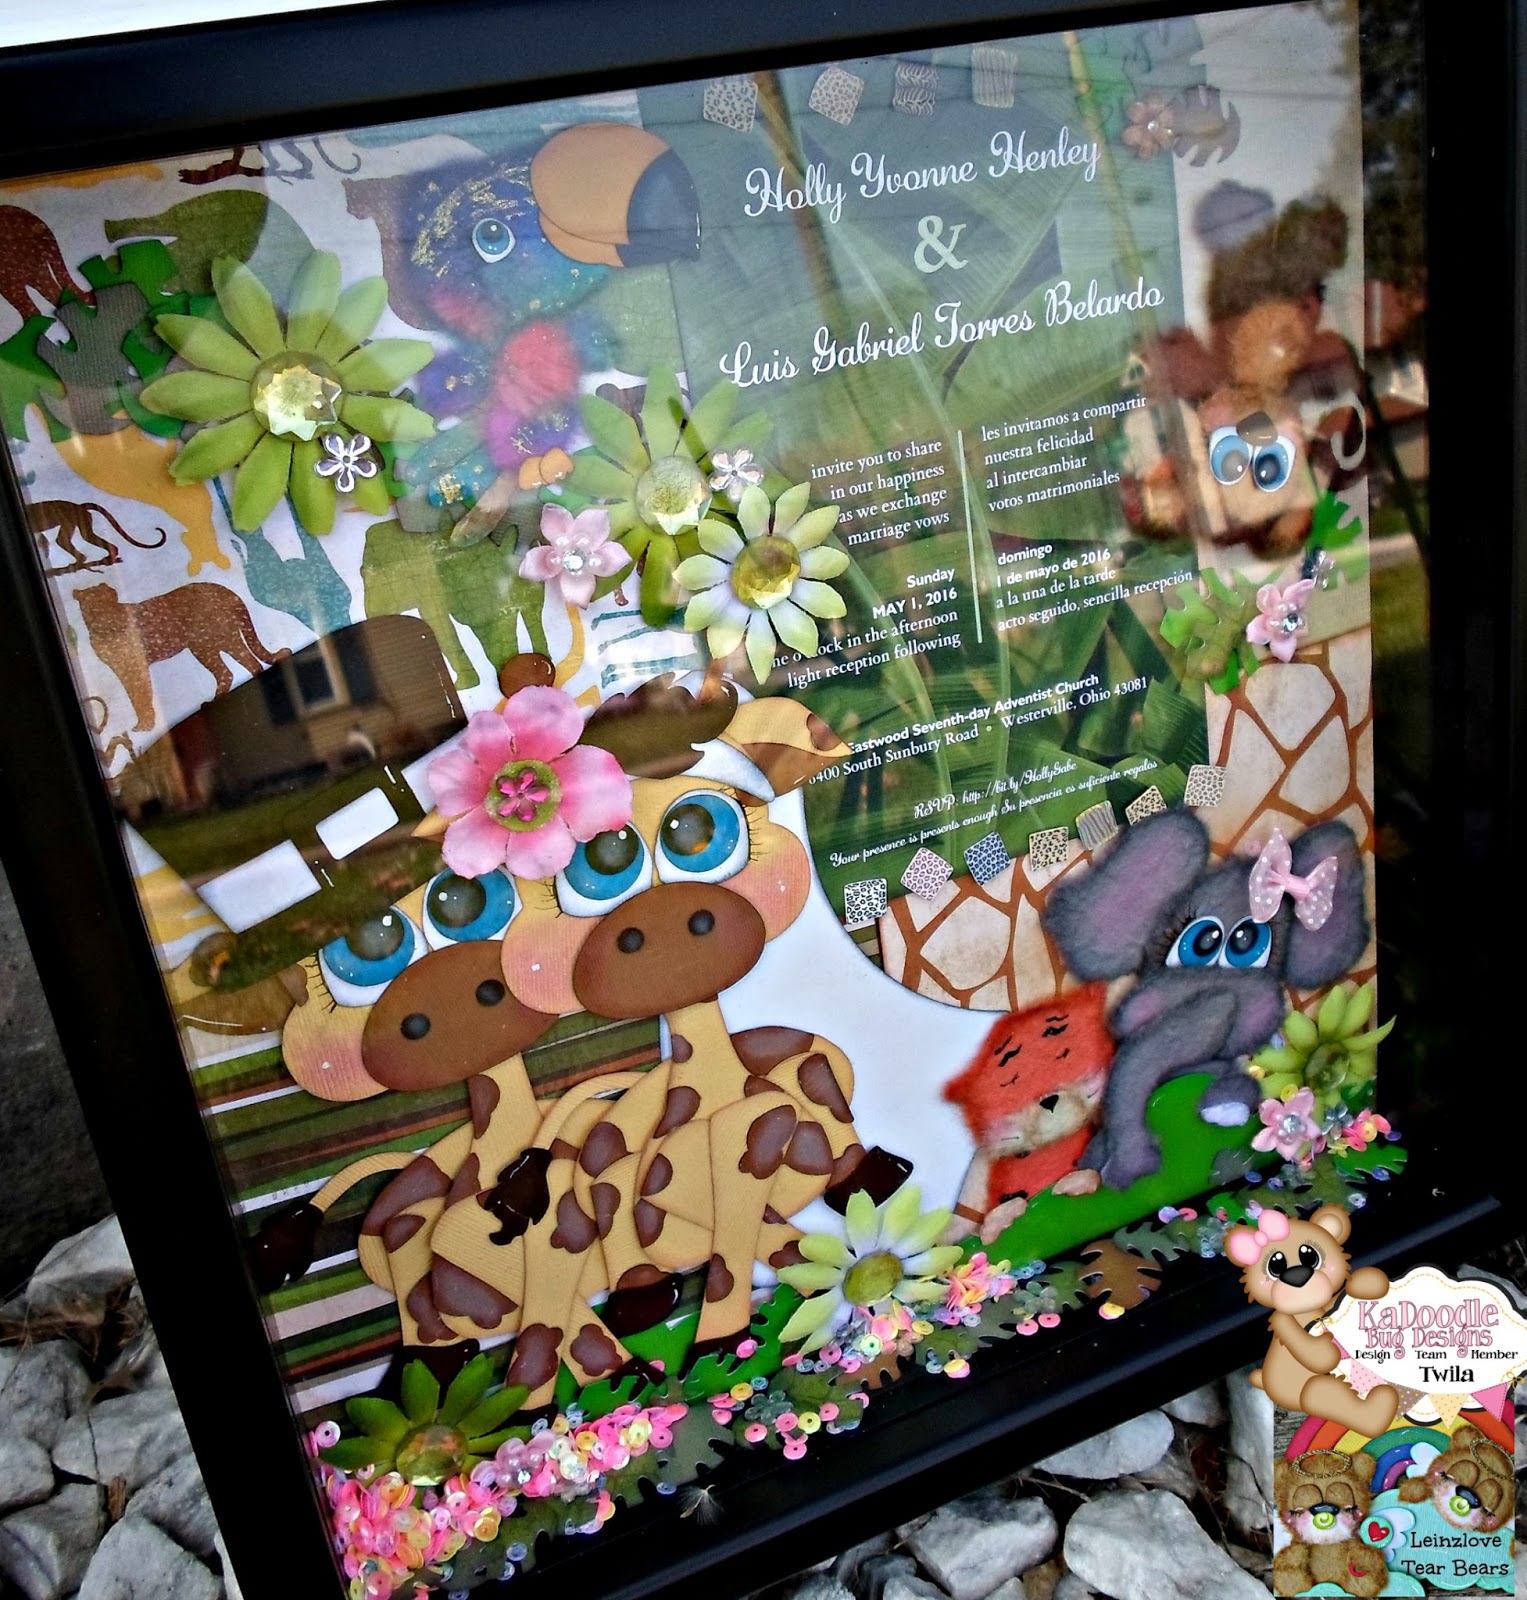
Jungle Themed Shadow Box: Wedding Gift


Hello Friends! Today is my day on the Kadoodle Bug Designs blog. I'm sharing this jungle themed shadow box that I made for my best friend. She is getting married this Sunday. I used her actual invitation and then decorated to match it.

I made my giraffes out of cardstock because I needed them big and wanted them to be the main focus of this project. Mulberry paper is best used for 5 inch embellishments or less. My best friends favorite animal is giraffes, so that was an easy choice.

I then added other zoo animals that I made furry using mulberry paper and a process that is called tear bear.

I added green Petaloo flowers and large gems. The background paper is the Zoology collection by Bo Bunny. I used the 6x6 paper pad. I adhered everything to a 12x12 piece of cardstock, put it in my frame and added sequins. 

I had a minor problem with sequins falling out of my shadow box frame. I used some tape of the bottom corners to fix this problem.

I uploaded files from Kadoodle Bug Designs to Cricut Design Space and cut out the patterns  with my Cricut Explore.


I had so much fun making this. It took many hours but it was well worth it!
Thanks for visiting today.


Wednesday, March 30, 2016

Circle Easel Belated Birthday Card


 Hi, DT Shirley here sharing a circle easel belated birthday card. I used the super cute "CK Belated Birthday Sloth" file that can be found here: 
javascript:popupWindow('http://kadoodlebugdesigns.com/shop/index.php?main_page=popup_image&pID=1096')

Here is the link to the design space  pattern.  https://us.cricut.com/design/#/canvas/38442222


My card has a 6 1/2 inch diameter, but you can adjust it up or down as you please. My sloth paper piecing is 5 1/2 inches tall and the title is 2 1/4 inches. I attached all my pieces with foam tape to give my card dimension. I attached my balloons with wire so they have movement. 


Thanks for stopping by! ~ DT Shirley

Thursday, March 24, 2016

It's a circus in here

Hello Doodles! I dug a little deep into the archives and went with the Circus Entertainers, Circus Animals, and You're a Star files for this set (http://kadoodlebugdesigns.com/shop/).

I started with making the circus tent first


Then I made the second card

And finally the little details


For a list of materials used, more photos, and a video of the inner working of the circus tent card, please visit: http://sugarbeancards.blogspot.com/