Current Challenge

Showing posts with label tear bear. Show all posts

Friday, October 21, 2016

Fall Ultrasound Pregnancy Tear Bear Sonogram Frame


Hello, Doodlebugs. DT Twila here today, I'm sharing my latest creation which is part of the New Kadoodle Bug Designs Facebook Challenge going on here: Kadoodle Bug Designs Facebook Challenge.

The theme is Halloween or Anything Happy.

I created this Sonogram box frame using my Cricut Explore and the following SVG cut Files from Kadoodle Bug Designs. These are must haves and have no many uses.


I designed this in Cricut Design Space, and cut out everything with my Cricut. I also made the titles using design space. I cut extra leaves, pumpkins and added a few cute stickers.

I chalked all of my piece edges to add extra dimension and used black and white gel pens to add more detail. This was a super fun project.

This is how I made my tear bear. I cut the pattern out in cardstock and then traced them into mulberry paper. I then hand tore the pieces in two layers and then glued them together. I flipped them upside down and fluffed the edges with a wire brush, hand chalked and pieced together like my other paper piecings. I finished then off by brushing my bear with a soft brush.

I had so much fun making this and thanks for stopping by.


Thursday, August 18, 2016

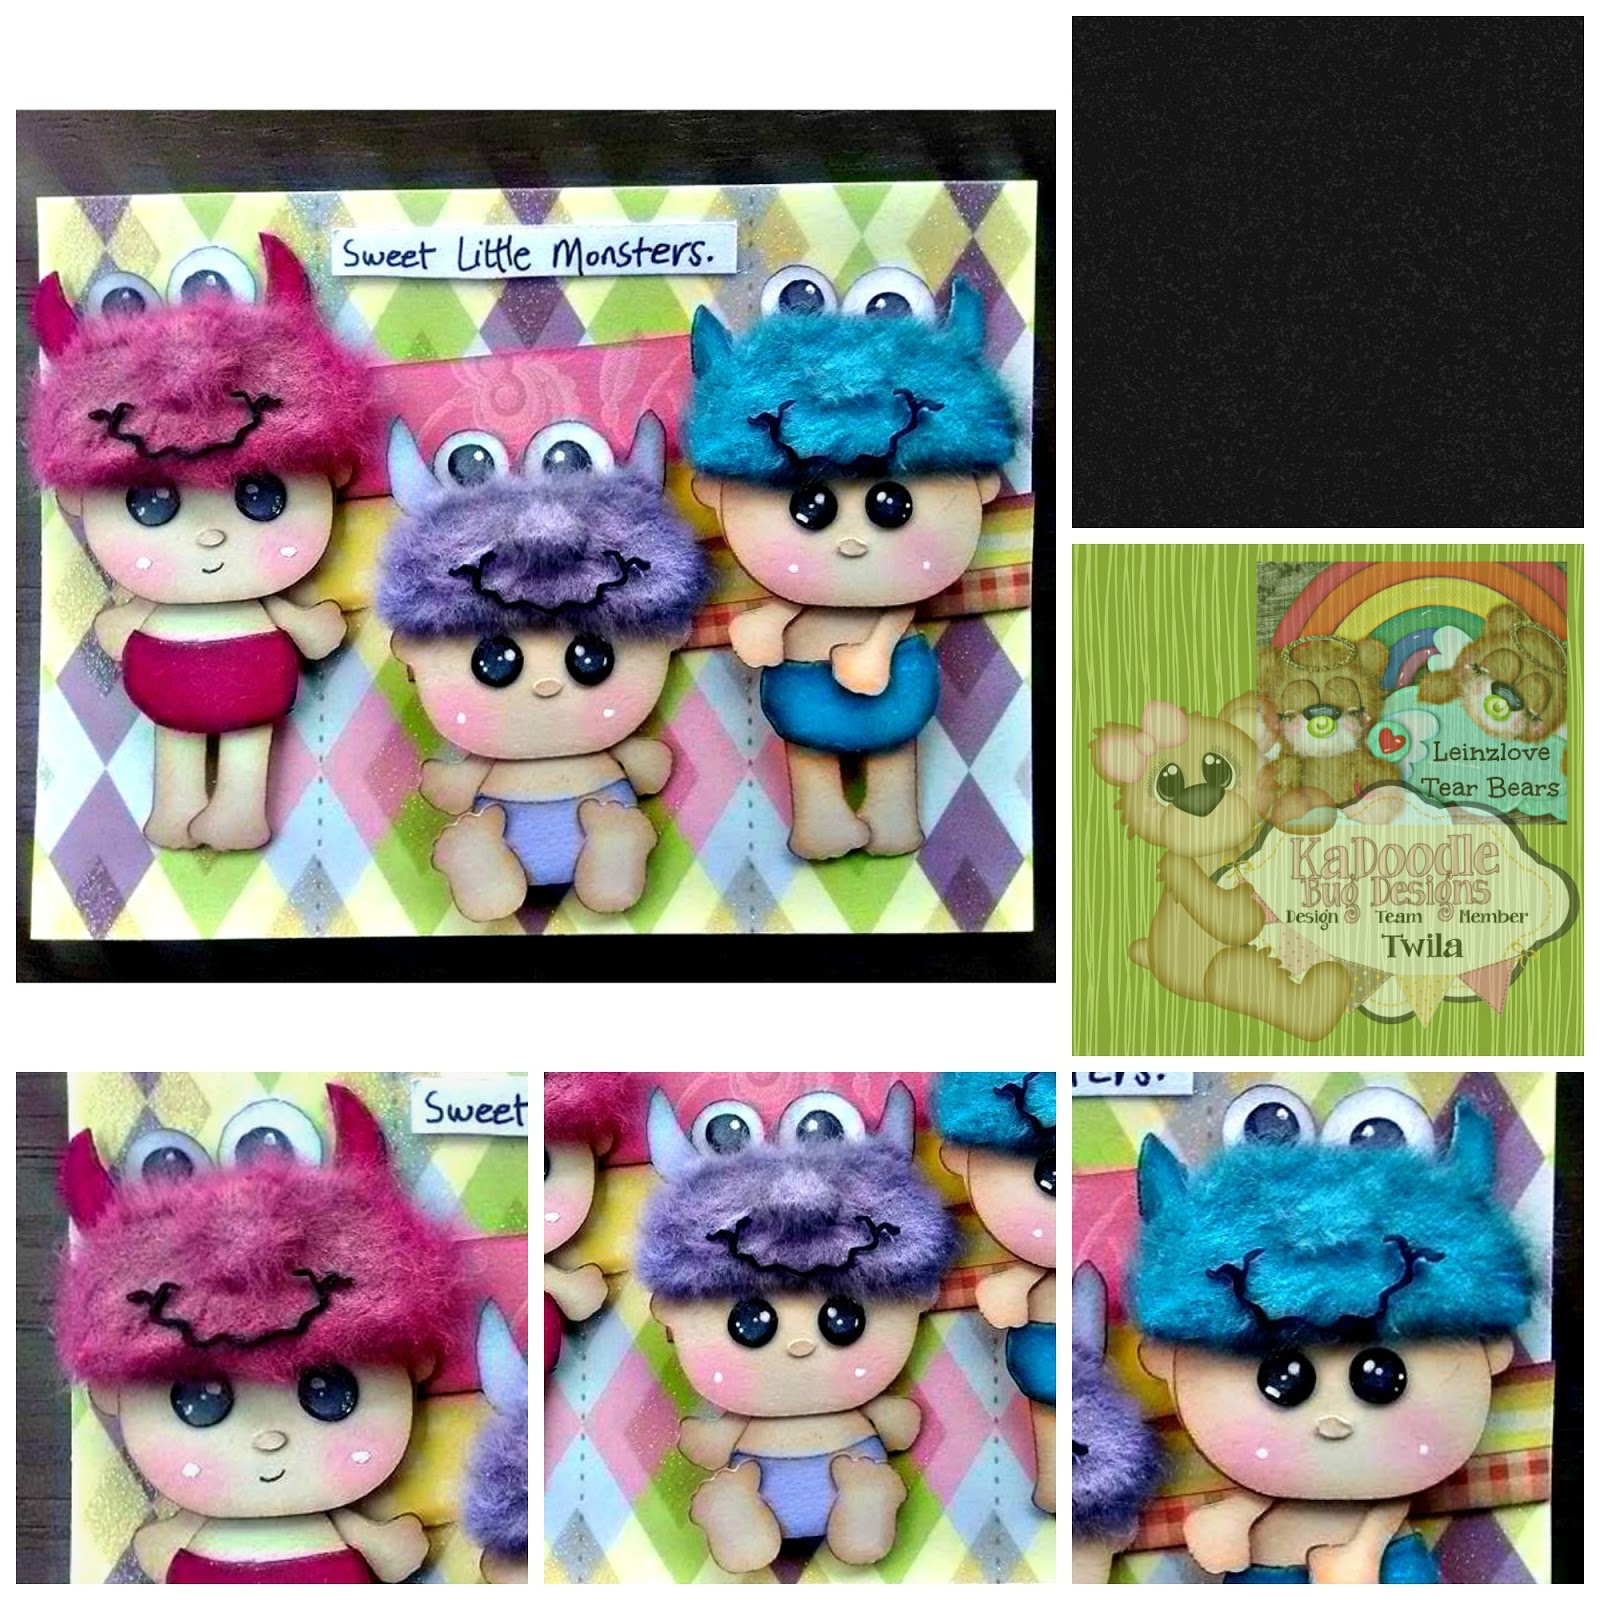
Furry Tear Bear Monster Baby Embellishments


DT Twila here on the Kadoodle Bug Designs Blog today sharing these tear bear babies. I created these with the gorgeous Monster Babies file found here at 
Kadoodle Bug Designs. Original Art by Cheryl Whimsical Inklings.

I can't get enough of the cuteness from Kadoodle Bug Designs. There is something for everyone, whether it be paper piecing or coloring. And WOW the digital stamps are so awesome. You can make them any size for any project. Whether they are for a scrapbook layout or real small for a planner. I am hooked.

I uploaded the pattern to Cricut Design Space and cut out the pieces with my Cricut Explore.  I used a process called Tear Bear and to make their cute monster hats using thick mulberry paper. These are a perfect fit for my planner. Just a bit over 2 inches tall and smaller than a bottle of stickles.


I attached this to a base and used decorations I found in the Celebration Stack by DCWV. 

I had so much fun with this!

Thanks for your visit today!


Wednesday, June 15, 2016

Rocket Tear Bear Card


DT Twila here on the Kadoodle Bug Designs Blog today sharing this Tear Bear Card I created with the gorgeous Cutie Katoodle Firework Bear file found here at 

I'm telling you these cuties never get old, nor can I ever get enough! :)

I uploaded the pattern to Cricut Design Space and cut out the pieces with my Cricut Explore.  I used a process called Tear Bear and created my sweet bear using thick mulberry paper. Totally love this bear! 

I attatched this to a base and used decorations I found in the Celebration Stack by DCWV.  I added some Jolee stars for embellishment.

I had so much fun with this!

Thanks for your visit today!


Wednesday, May 18, 2016

Tear Bear Cutie Katoodle Cow Tag


Hi Doodle Bugs! DT Twila here today sharing this super cuuuuute Cow Tear Bear Tag I created with the gorgeous Cutie Katoodle Cow file found here at 

I'm telling you these cuties never get old, nor can I ever get enough! :)

I uploaded the pattern to Cricut Design Space and cut out the pieces with my Cricut Explore.  I used a process called Tear Bear and created my cow using thick mulberry paper.

I attatched this to a base and used decorations I found in the irresistible Confetti Stack by DCWV. Can't get enough to the yummy goodness either.

Thanks for your visit today!


Friday, April 29, 2016

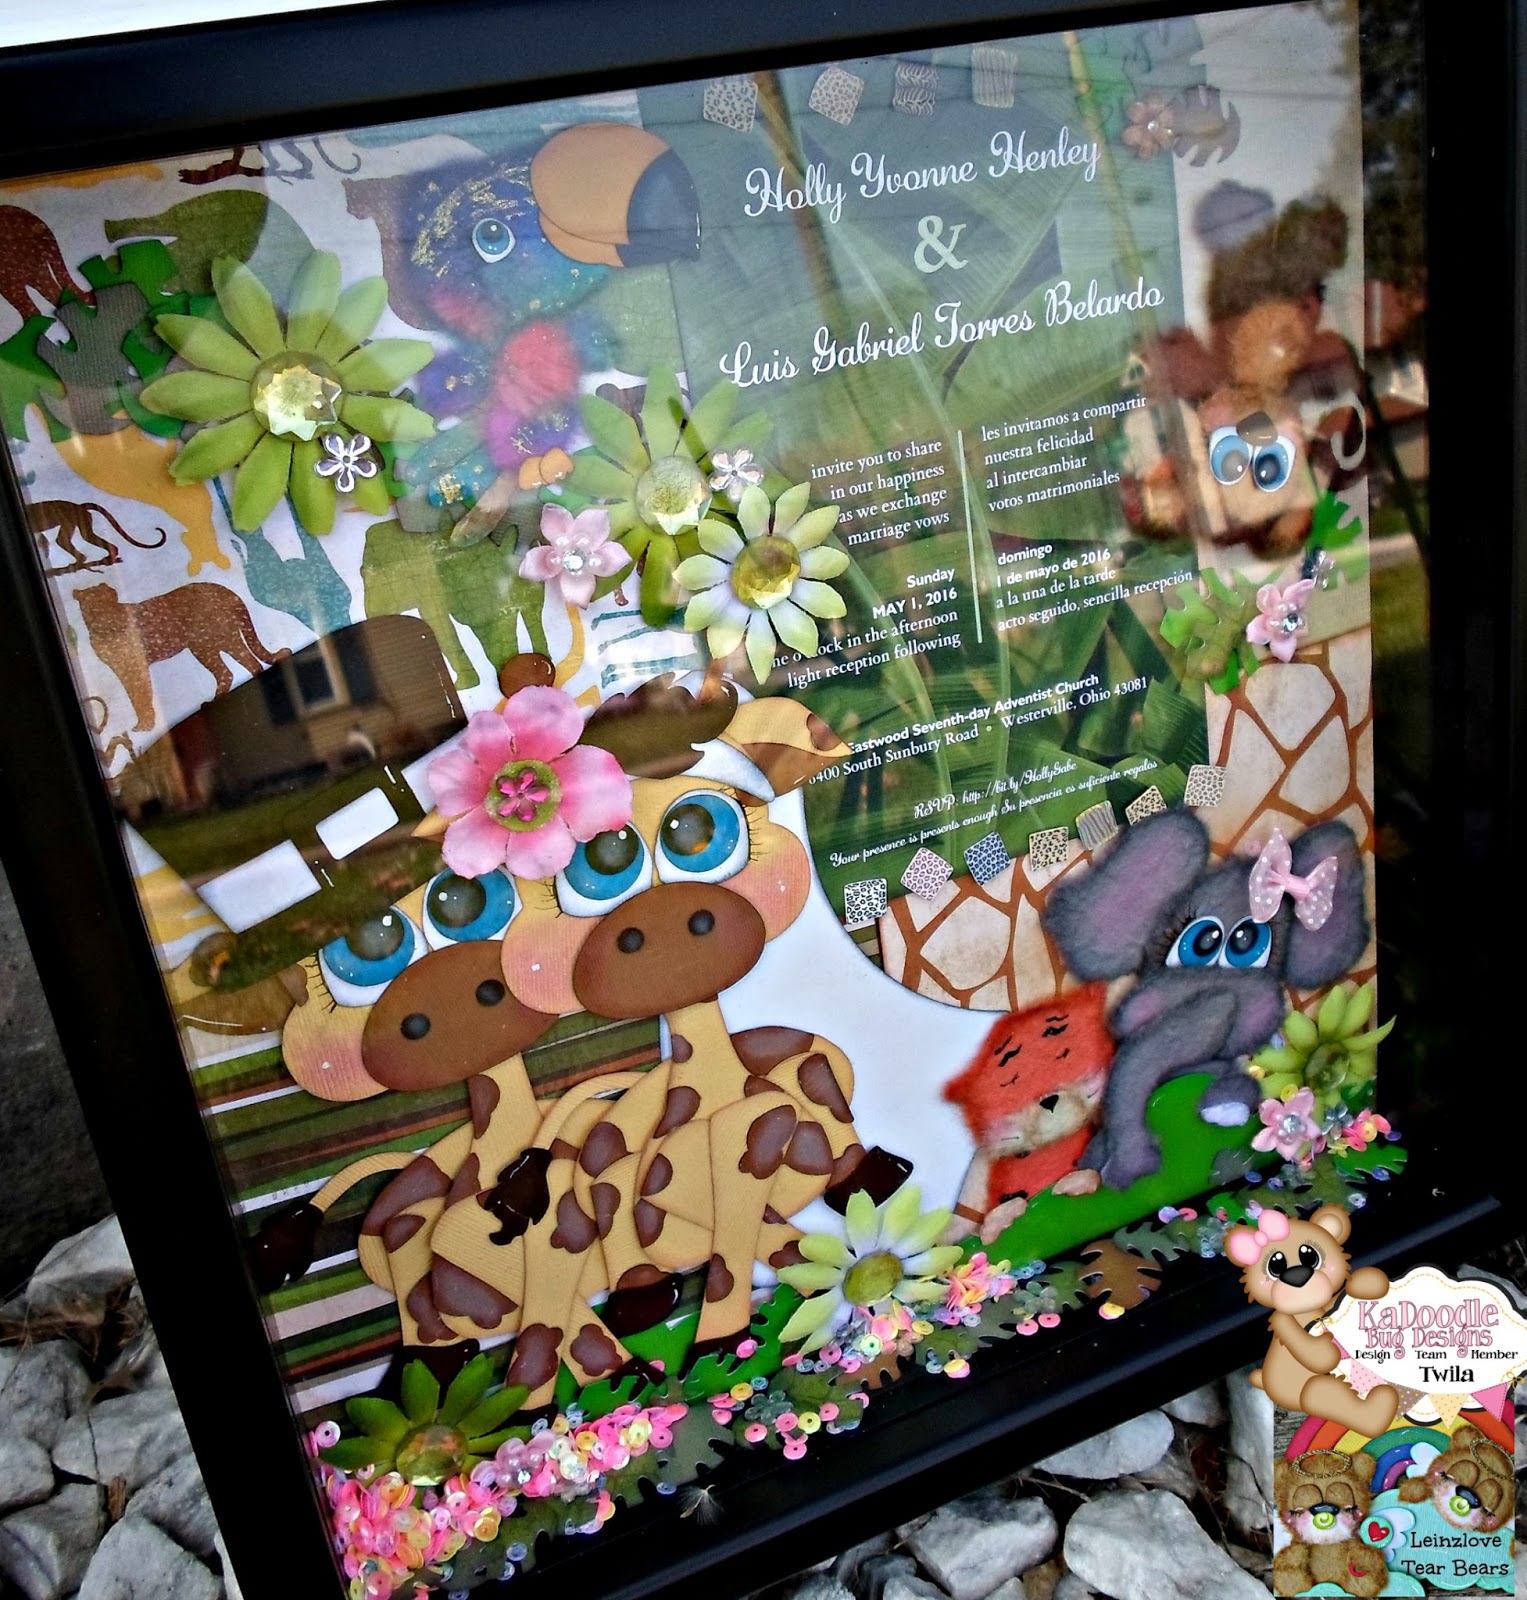
Jungle Themed Shadow Box: Wedding Gift


Hello Friends! Today is my day on the Kadoodle Bug Designs blog. I'm sharing this jungle themed shadow box that I made for my best friend. She is getting married this Sunday. I used her actual invitation and then decorated to match it.

I made my giraffes out of cardstock because I needed them big and wanted them to be the main focus of this project. Mulberry paper is best used for 5 inch embellishments or less. My best friends favorite animal is giraffes, so that was an easy choice.

I then added other zoo animals that I made furry using mulberry paper and a process that is called tear bear.

I added green Petaloo flowers and large gems. The background paper is the Zoology collection by Bo Bunny. I used the 6x6 paper pad. I adhered everything to a 12x12 piece of cardstock, put it in my frame and added sequins. 

I had a minor problem with sequins falling out of my shadow box frame. I used some tape of the bottom corners to fix this problem.

I uploaded files from Kadoodle Bug Designs to Cricut Design Space and cut out the patterns  with my Cricut Explore.


I had so much fun making this. It took many hours but it was well worth it!
Thanks for visiting today.


Thursday, March 31, 2016

Shoptastical Cuties: Pear Bears Mom & Me Scrapbook Page

Hello DoodleBugs! DT Twila on the Kadoodle Bug Designs blog.


Today, I'm sharing this layout page that I made using the super cute Shoptastical Cutie Pear files found here at 
Kadoodle Bug Designs.
I uploaded the svg cutting files into Cricut Design Space and cut out the pieces with my Cricut Explore. I took these pieces and traced them into the back of mulberry paper and then hand tore them. I then flipped the pieces upside down and brushed the edges on my bears to give them a furry look. I then assembled my pieces as you would any other paper piecing after inking my edges.
I made my base using a 12x12 sheet of DCMV cardstock. The mats are cardstock from Bo Bunny. I added gorgeous green flowers by Petaloo and attatched sprinkles to their centers from Doodlebug Design.


I just love these Shoptastical Cuties! And can't get enough of their cuteness! Thanks for stopping by today.


Friday, March 11, 2016

Shoptastical Cutie: Cookie Tear Bear

Hello DoodleBugs! DT Twila on the Kadoodle Bug Designs blog.
 
 
Its my turn to host the KBD Challenge found here:
 
We have 2 Challenges a month and the winner wins a FREE
KaDoodle Bug Designs SVG File of their Choice!
How sweet is that! We get to pick the theme
since we are hosting it and my theme is:
 
Your Favorite KBD File! How fun is that.
 
I chose this because I love the Cutie Katoodle Bear best and I decided to pair it with a gorgeous new Shoptastical Cutie. Have you seen these yet? You can find them here:
 
We also have a Birthday Hop going on! There are lots of Fabulous Prizes. You should join us here.

 Dreaming Tree (3-$10 GC)
Thirty-One (2 oh-snap bins)
Jamberry (3 wrap sheets)
Leinz Love tearbears (3 Birthday Tearbears)
Pink and Main (Birthday Wishes stamp set)
2 Crafty Katies (embellishments)
Whimsical Inklings by Cheryl ($25 GC),
Cricut lovers guide to Design Space ($25 KBD GC),
Paper Piecings by Babs (3 piecing sets),
Peachy Keen Stamps ($50 GC).
  KBD 5-$10 GC and 2-$25 CG
 
Xyron Mega Runner & Xyron X (1.5" Sticker Maker)
Just Added Brutus/Monroe 2 Totally Mitsyana Dies (designed by our very own Mitsyana)

 With all this good stuff said: Let me get to how I created my project.

I uploaded the svg cutting files into Cricut Design Space and cut out the pieces with my Cricut Explore. I took these pieces and traced them into the back of mulberry paper and then hand tore them. I then flipped the pieces upside down and brushed the edges to give them a furry look.
 
I assembled as you would any other piecing after inking my edges. I attatched this to a piece of Perfectly Plaid paper by Lawn Fawn. I used my Cricut Explore to make the title.
 
I just love these Shoptastical Cuties! Thanks for stopping by today.


Thursday, January 28, 2016

Angel Bear 5x5 Tear Bear Box Frame


Hi Doodlebugs, Twila here on the Kadoodle Bug Designs Blog
 
I made this cute tear bear with patterns from Kadoodle Bug Designs found at the following links.
 
 
I unzipped the svg cutting files and pasted them on my computer in a new folder. I then uploaded the svg files to Cricut Design Space and cut out my patterns for my tear bear with my Cricut Explore. I also cut the daisy flower, Angel Wings, Halo, clouds and the box frame.
 
Speaking of the box frame. Its just a regular square box lid fit and cut using the score line in Cricut Design Space. This box is on the Tags, Boxes and More 2 Cartridge.
 
I tore my bear out of mulberry paper using a process called Tear Bear. I then chalked all of my pieces with Colorbox chalk and added details using black and white Signo gel pens.
 
For my box frame I used cardstock from Doodlebug Designs.
 
I made this custom for a friend.


 Thanks for your visit today!
 

Thursday, January 7, 2016

Polar Tear Bears 3D Snow Globe


Hi everyone! DT Twila, here on the Kadoodle Bug Designs blog. I made this 3D Standing Snow globe. I had a lot of fun with this.
 
I used the file "Polars on Ice" file found here at Kadoodle Bug Designs.
 
 
Help! What a cute bear file!! So many projects can be made with this!
 
 After unzipping the individual svg cut files I uploaded them to Cricut Design Space. There, I designed my snow globe with basic shapes.
 
I share these files FREE for Cricut users:
 
These files are for the snow globe files, that I designed in Cricut Design Space ONLY. The Polar Bear file is found here.
 

I chose Bo Bunny Scrapbook Paper for my snow background and the base of my snow globe. I love Bo Bunny!
 
After using my Cricut Explore to cut out my tear bear patterns and that of the snow globe.
 
I focused on these fluffy bears! I tore them out of thick mulberry paper and chalked the pieces with Colorbox in Cyan, Purple and Charcoal. (Ink and chalk.) I used pink Peebles chalk for the cheeks, inner ears and paws.
 
I used black and white gel pens and Frost White Colorbox ink for detailing these bear embellishment faces.
 
I then assembled all of the pieces using Fabri- Tac. I took one last soft brushing to the fur to make them look even fluffier! I love paper crafting!


I took the layers to make this 3D. I cut out a circle of acetate sheet to make a clear window. I taped all around the edges using 3 layers of foam tape so it'd fit my polar bears and shaker mix. I used Spare Parts, blue stones and shave ice by Stampendous for my mix. Yes, it shakes! Let is snow!
 
I then attached the circles and added a small box to the back so it would stand up. I attached the base, and to complete my project I embellished with more spare parts and gemstones.


Trailer
 
This is a gift for my sweet sister. This is her first winter as a mother. <3
 
Thanks for your visit today! It was my pleasure sharing this Cricut project with you. Happy Crafting!


Wednesday, December 2, 2015

Sweet Angel Baby Tear Bear

 
Hi everyone! Twila, here on the Kadoodle Bug Designs Blog.
 
I am sharing this super sweet Angel Baby Tear Bear Card.
 
I created this with the super Cutie Katoodle Angel Bear svg cutting file found here.
 
Instead of leaving her eyes open, I made them closed using the super Cutie Katoodle Sleeping Angel Bear found here.
 
I made my Angel Bear fuzzy and soft by using the tear bear method. I uploaded the pattern to Cricut Design Space and cut out the pattern and accessories with my Cricut Explore.
 
I traced my pattern pieces into the back of mulberry paper. Took a water brush to their outline and tore them out. I brushed the pieces with them turned upside down and chalked the edges with Colorbox Chalk, Chestnut Roan.
 
I assembled with Fabri-Tac. My go to adhesive.
 
The background paper is from Doodlebug Design, the clouds are cut from two scoops cardstock by Bazzill.
 
 
Thanks so much for your visit today!


Monday, November 30, 2015

Christmas Bug Tear Bear Ornament

 
Hi, Everyone! Design Team member, Twila here today on the Kadoodle Bug Designs blog.
 
Today, I'm sharing this super cute Christmas Bug Ornament Decoration.
 
This svg is free and EXCLUSIVE to Cricut Lovers Guide to Design Space. I love this group. It is wonderful for getting advice, learning new techniques and connecting with other Cricut users.
 
I love that Kadoodle Bug Designs creates exclusives just for this group.
 
 
I downloaded this file from the files tab inside the group. I then took the svg file and uploaded it into Cricut Design Space and I cut all of the pieces out with my Cricut Explore.
 
I took my Christmas Bug pieces and traced them into the back of thick mulberry paper. I took the pieces that I wanted furry and wet them around the edges using a water brush. I then tore out each piece. Flipped the pieces upside down after they were dry and took a wire brush to their edges.
 
I did the same with the white to my Christmas Bug's Santa Suit.
 
I cut my pieces that I didn't want furry out with scissors.
 
I cut the Santa Suit and hat in Crushed Red Velvet by Doodlebug Design.
 
The cookies were created with texture and smooth cardstock from Recollections.
 
I chalked everything with Colorbox Cats Eye Chalk. I used Charcoal, Chestnut Roan, and Green. Just a touch of pink was added using Peebles chalk. I used black and white pens to add more details.
 
I punched a hole in this Christmas Bugs hat and attached a super cute festive Christmas ribbon.
 
My finishing touch was taking a soft brush to the entire project.


I'm honored to share my Christmas Bug with you. I just love how it looks.
 
Thanks so much for your visit.
 
More Super Cute Cricket Bugs available here on the Kadoodle Bug Designs Website.


Tuesday, October 27, 2015

Pumpkin Tear Bear Card


Hello everyone! Welcome to the Kadoodle Bug Designs blog. Today, is my day here and I'm sharing this super cute Pumpkin Tear Bear Card. Sit back and stay awhile. DT Twila

I made the card base in Cricut Design Space and cut it out with my Cricut Explore. It was super easy. 

I took a square from basic shapes and made it 4x4.5, I then copied and pasted, so I'd have another identical square. I overlapped them a little and welded to make it all one large rectangle. I then brought in a score line, also from basic shapes. Added it in the center and pressed attatched and then cut. I used Recollections craft cardstock for my base.

I then made a 4x4.5 square and a small 1 1/2 x4 rectangle. I cut these out with two different patterned cardstock papers from Doodlebug Design. 

I then used Basic Cricut Fonts and made my title in Design Space. I used my black cricut pen in my Cricut Explore pen holder and then cut it out.

I chalked all of this with Colorbox Chalk in Burnt Sienna. And then I glued it all down to my base saving room for my pumpkin tear bear. I added a super cute pop up sticker, also from Doodlebug Design and the perfect match for my Doodlebug Pumpkin Paper.

I found the pattern for my tear bear at Kadoodle Bug Designs. I just can get enough of the cute KBD patterns. I uploaded the pattern to Cricut Design Space and cut it out with my Cricut Explore.

I took this pattern and used a tracing tool to trace it all in the back of thick 150+gsm Orange Mulberry Paper. I then took my scissors and cut out each piece leaving about 1/4 inches around my trace marks to tare out my pieces. 

I hand tore out each piece and then flipped the pieces face down and took a wire brush to them. Making sure it was all dry I chalked all edges in Colorbox Chalk Burnt Sienna.

I then assembled my bear using Fabri Tac, which is my go to glue. I did the face and added the pumpkin face to its body. I brushed it all again with a soft brush and attatched to the card.


Thanks for your visit. Please leave a comment and tell me what you think.